Having worked extensively with commercially available motor controllers, often in "DIP 16 wide" form,
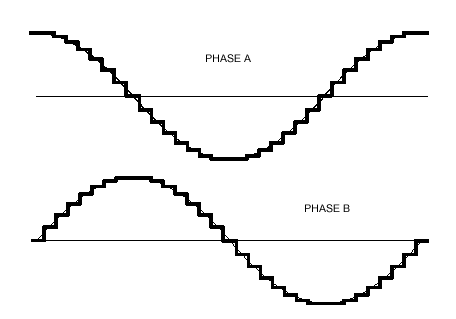
with a micro-stepping mode going up to 1/32 maximum (example drv8834), I notice quite quickly that the prices get carried away when it comes to have a high and efficient microstep mode in current control. Although many sources consider it "impossible" to be able to produce microstepping operation in software, I give it a try based on the current possibilities in terms of CPU processing, and in particular the 4 CPU cores of the Raspi2. The idea is to further reduce the electronic part, and to manage the micro-step signals directly on the Gpios pins. I opt for Pwm modulation, quite widely used to convert a digital signal into an analog signal that can be modulated in voltage / current, according to the principle of variation of the cyclic ratios. It is therefore necessary to generate modulated voltage signals at the output of the GPIO and to reconstitute the two motor phases as follows: The modulation of each voltage pulse is therefore done at a PWM frequency higher than the motor frequencies, ideally the strongest possible but with a limitation linked to CPU calculations
[ MAJ 2022 ]
La carte finale est toujours en cours de conception , car elle doit intégrer :
* une entrée / sortie I2C sur les broches GPIOS de la RPI (écran LCD16002)
* une régulation plus efficace en tension sur la broche GPIO 5V (RPI3A+/B+)
* une suppression de la LED d'etat (remplacée par écran LCD)
* une séparation des modules de puissances (double ponts en H)
Sans cette carte, astrokit fonctionne avec des modules tout prêts à brancher aux port gpios.
Une page dédiée sera faite prochainement
[ MAJ 2022 ]
The final electronics is still being designed, as it must integrate:
* an I2C input / output on the GPIOS pins of the RPI (LCD16002 screen)
* more efficient voltage regulation on the 5V GPIO pin (RPI3A+/B+)
* removal of the status LED (replaced by LCD screen)
* separation of the power modules (double H-bridges)
Without this card, astrokit works with modules ready to plug into gpios ports.
A dedicated page will be made soon
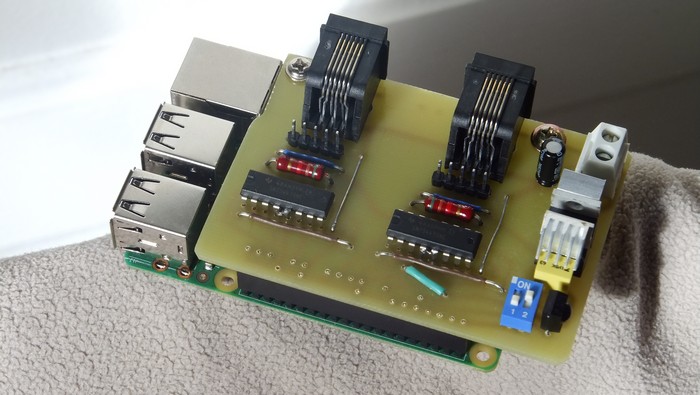
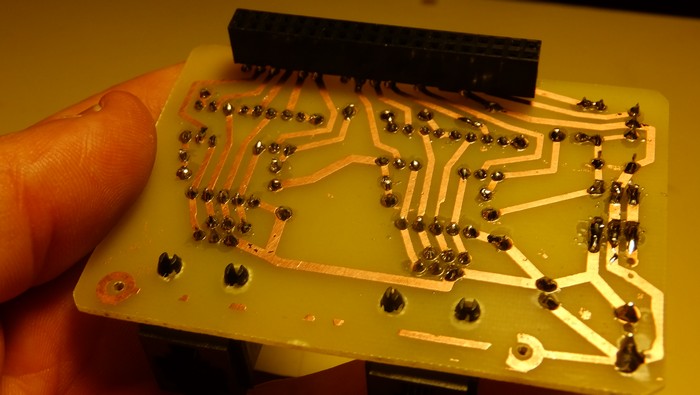
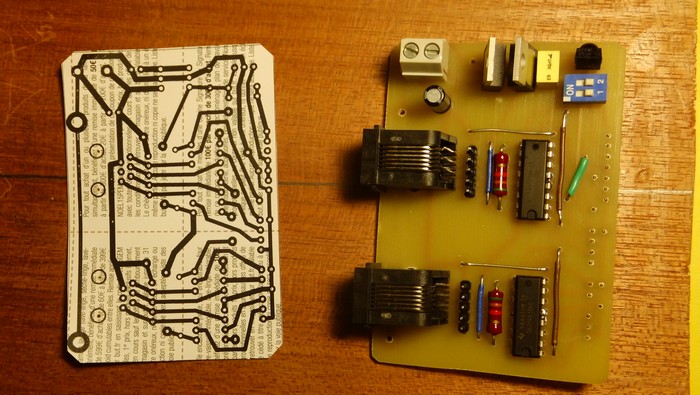
L'électronique du proto final devient minimal et pile au format de la raspi2 ==>
Quelques images ==>
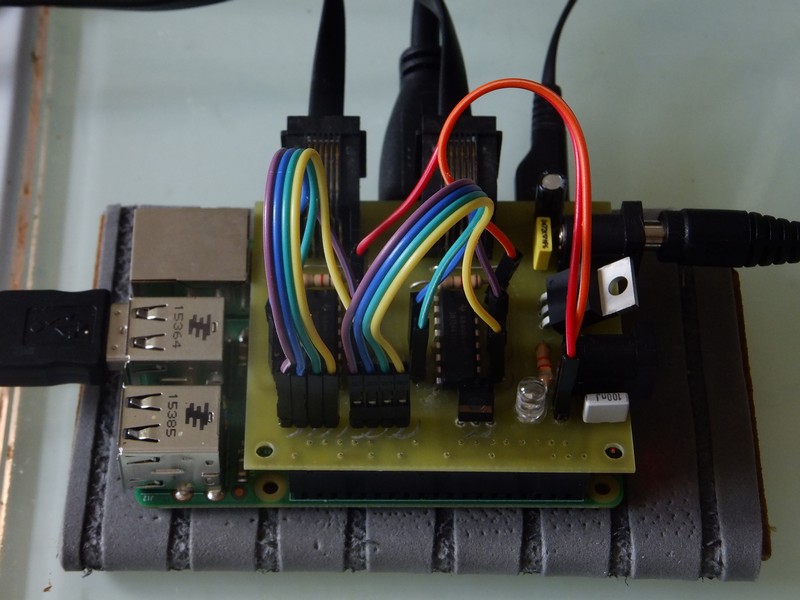
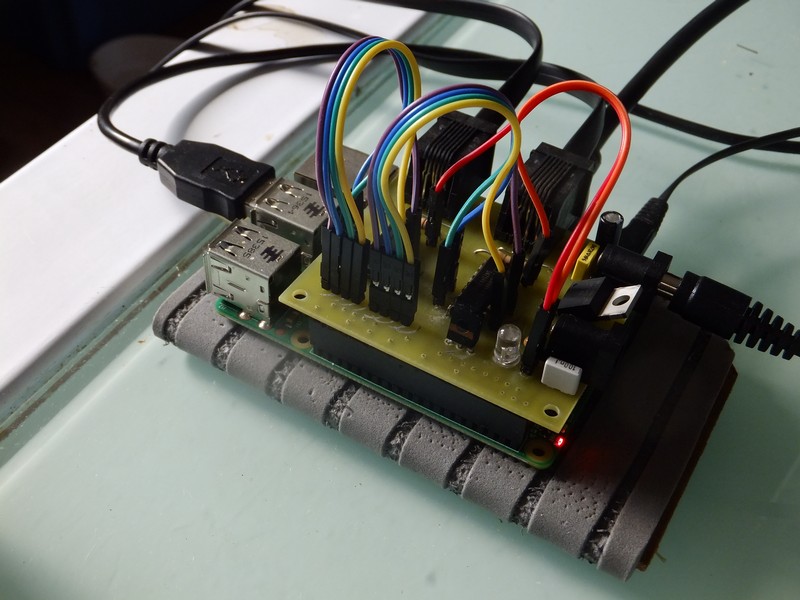
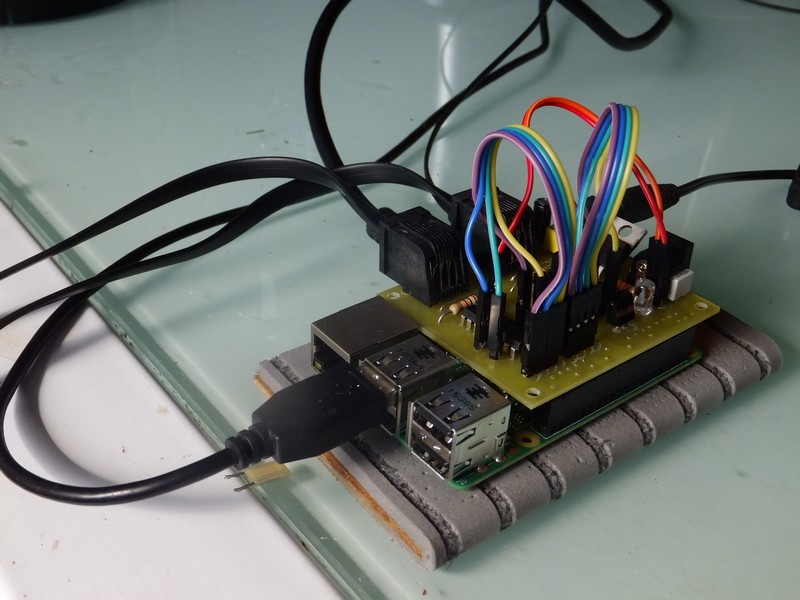
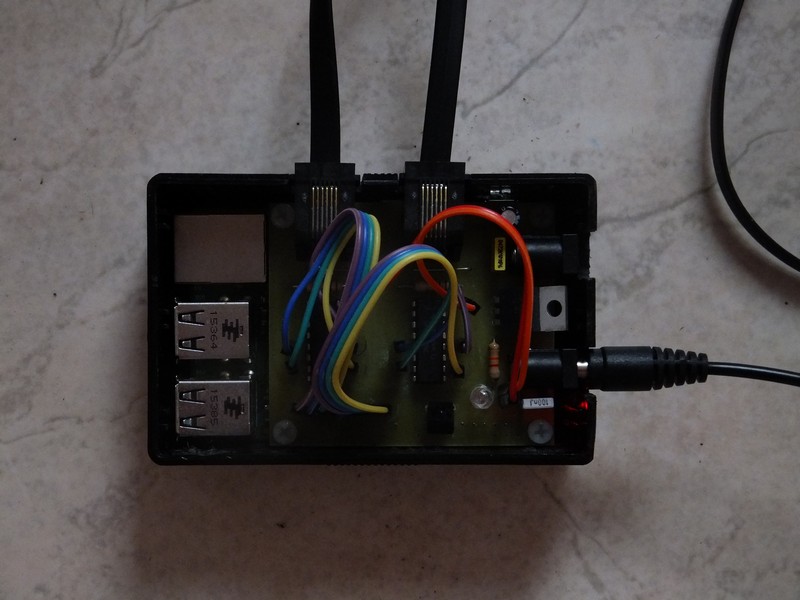
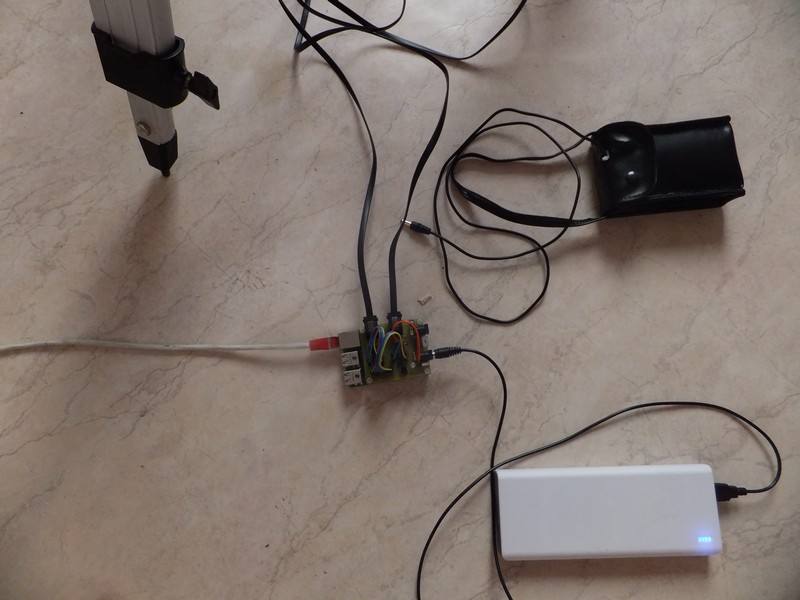
La carte définitive et finale est identique à la pécédente, bien que l'électronique est encore plus allégée,
et beaucoup plus facile à réaliser :
[ MAJ 2022 ]
La carte finale est toujours en cours de conception , car elle doit intégrer :
* une entrée / sortie I2C sur les broches GPIOS de la RPI (écran LCD16002)
* une régulation plus efficace en tension sur la broche GPIO 5V (RPI3A+/B+)
* une suppression de la LED d'etat (remplacée par écran LCD)
* une séparation des modules de puissances (double ponts en H)
Sans cette carte, astrokit fonctionne avec des modules tout prêts à brancher aux port gpios.
Une page dédiée sera faite prochainement
[ MAJ 2022 ]
The final electronics is still being designed, as it must integrate:
* an I2C input / output on the GPIOS pins of the RPI (LCD16002 screen)
* more efficient voltage regulation on the 5V GPIO pin (RPI3A+/B+)
* removal of the status LED (replaced by LCD screen)
* separation of the power modules (double H-bridges)
Without this card, astrokit works with modules ready to plug into gpios ports.
A dedicated page will be made soon
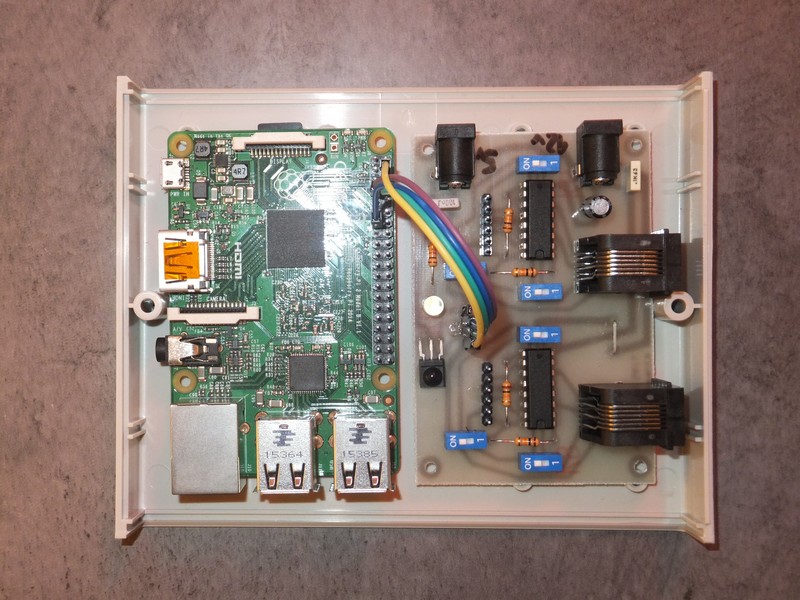
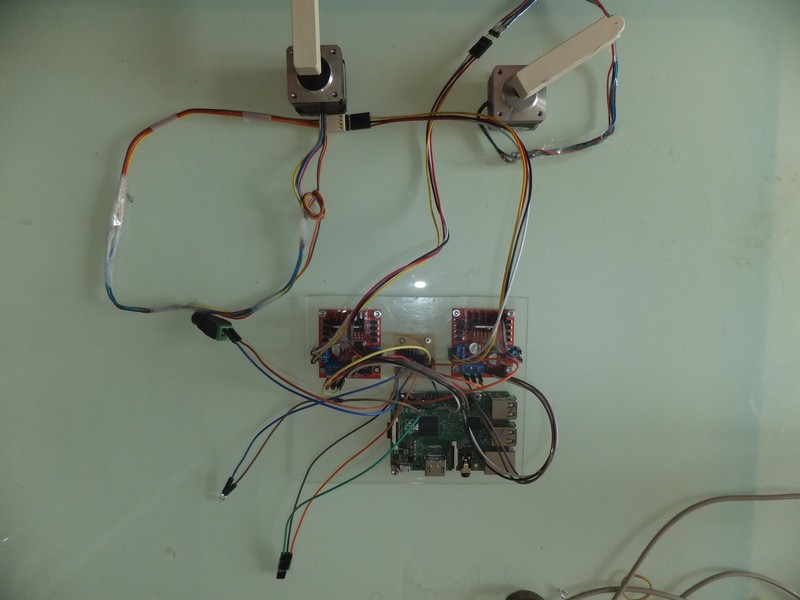
Example of assembly without any card, using ready-made modules, without power supplies,
[ MAJ 2022] on peut brancher un écran LCD1602 sur les broches I2C et un clavier bluetooth usb + wifi activée
[MAJ 2022] you can connect an LCD1602 screen to the I2C pins and a keyboard bluetooth usb + actived wifi
